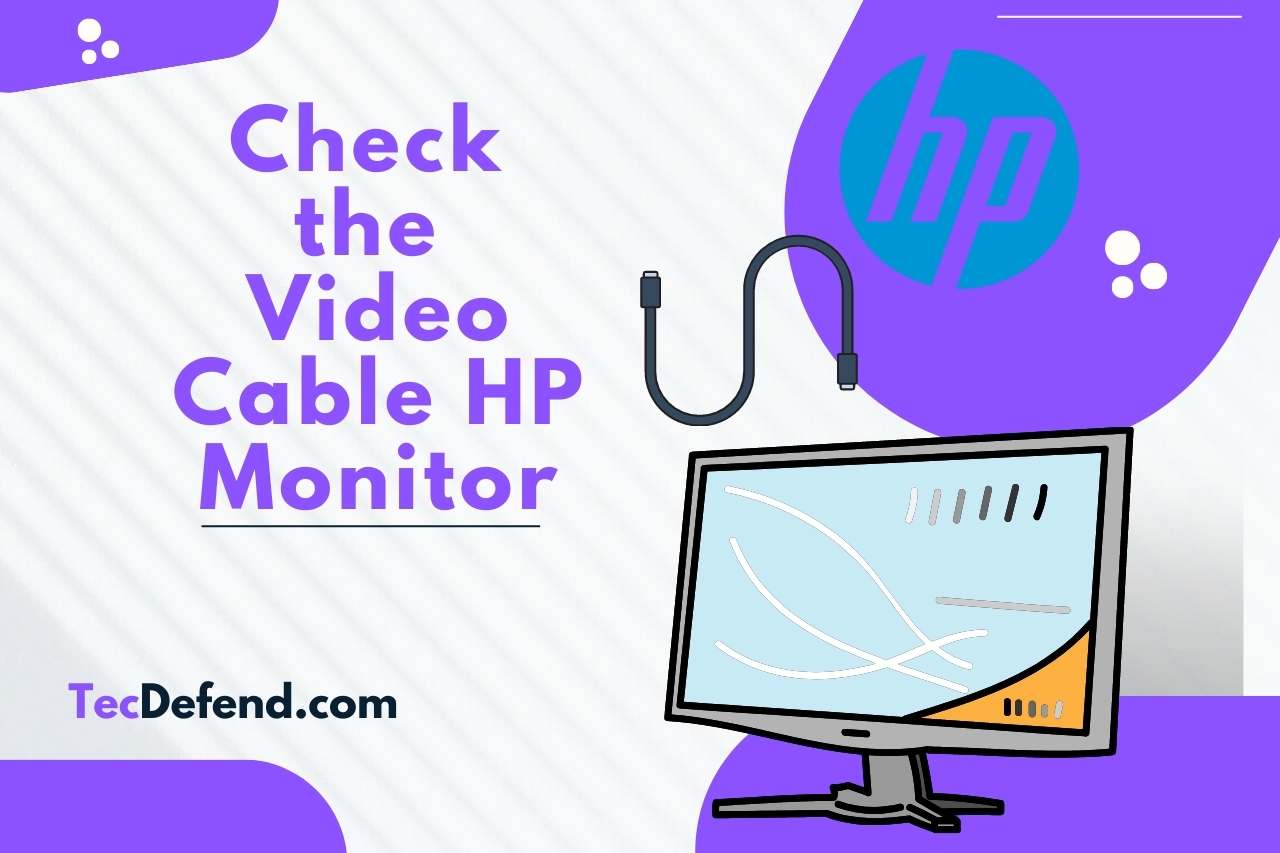
Check the Video Cable HP Monitor – (Step-by-Step Guide)
A reliable video connection is at the core of an immersive computing experience and is necessary for a clear and colorful display. This comprehensive article is intended to assist you in understanding, diagnosing, and resolving video cable issues on your HP Monitor, whether you’re an experienced tech enthusiast or a novice just getting started in the world of monitors.
Our mission is to give you the information and resources to handle typical video cable issues like fuzziness, flickering, or the dreaded “No Signal” message. We’ve covered you, from explaining the many kinds of video cables to offering detailed troubleshooting tips.
What does the Check Video Cable Mean On the HP Monitor?
‘Check Video Cable’ is a message that appears on an HP monitor when there is a problem with the connection between the monitor and the computer’s graphics output.
It suggests the cable connecting the two may be damaged, loose, or improperly attached. This message may also display if the graphics card malfunctions or the graphics settings are incorrect.
To fix this, make sure the video cable is firmly attached, look for physical damage to the cable, check the graphics settings, and examine the hardware.
You can ensure a solid and clear display on your HP monitor by addressing these potential problems to reestablish a functional video signal.
What is the Video Cable of a Monitor?
A video cable is a real-world connection that carries a video signal from a computer or other video source to a monitor’s screen for display. It acts as a conduit for moving visual data, such as pictures, videos, and graphics, from the source device to the monitor.
There are several types of video connections, such as HDMI, DisplayPort, VGA, and DVI, each with different compatibility, resolution, and frame rate.
Which video cable should be used depends on the available ports on the source device and the display.
A safe and adequately connected video cable is crucial for a clear and stable display on the monitor to ensure that the visual content is reliably sent and displayed for the user to interact with.
What to Do If your PC Says to Check the Signal Cable?
- First, ensure the video wire connecting your PC to the display is firmly inserted into the monitor’s input and graphics output ports. Cables can occasionally get slack over time or when being moved.
- Check the video cable for flaws like fraying, cuts, or bends. The cable may not transmit the signal correctly if damaged, necessitating a replacement.
- Make that the display is configured to the appropriate input source for the port to which the cable is connected. Many monitors offer different input possibilities.
- Rebooting the computer can sometimes fix connectivity problems. After turning off your PC and monitor, wait a few whiles before turning them back on.
- A graphics setup issue may exist even if the cable connection is safe and you still receive the notice. Ensure your PC’s display settings are set up correctly to work with your monitor.
- To see if the “Check Signal Cable” notice still appears, connect your PC to a new monitor if possible. This can assist in identifying whether the problem is with the monitor’s output or the PC itself.
- If you’ve tried several connectors and displays, but the issue still exists, there may be a problem with your computer’s graphics card. Verify that the graphics card is inserted into the slot securely.
How Do you Properly Connect the Video Cable to your HP Monitor?
- Before connecting the video cable, turn off your HP Monitor and computer.
- On the back of your HP Monitor, look for the proper video input port. The kind of cable you’re using should be indicated on the device (for example, HDMI or DisplayPort).
- One video cable end should be inserted into the monitor’s matching port. To prevent bending pins or harming the dock, ensure it is connected securely yet gently.
- The other end of the cable should be inserted into the appropriate video output port on your computer’s graphics card or video output.
- If the cable has screws or connections, tighten them, but be careful not to overtighten to protect the ports.
- Turn on both the computer and your HP Monitor after connecting the connection at both ends.
- Use the on-screen menu or buttons on your HP Monitor to choose the input source corresponding to the port you’ve attached the cable to (such as HDMI or DisplayPort).
- If the connections are sound, your monitor should see the material from your PC. You have appropriately connected the video cable if you can see the image.
- You might need to modify the resolution, refresh rate, or other display settings through your computer’s settings or the monitor’s on-screen menu, depending on your needs and the capabilities of your monitor.
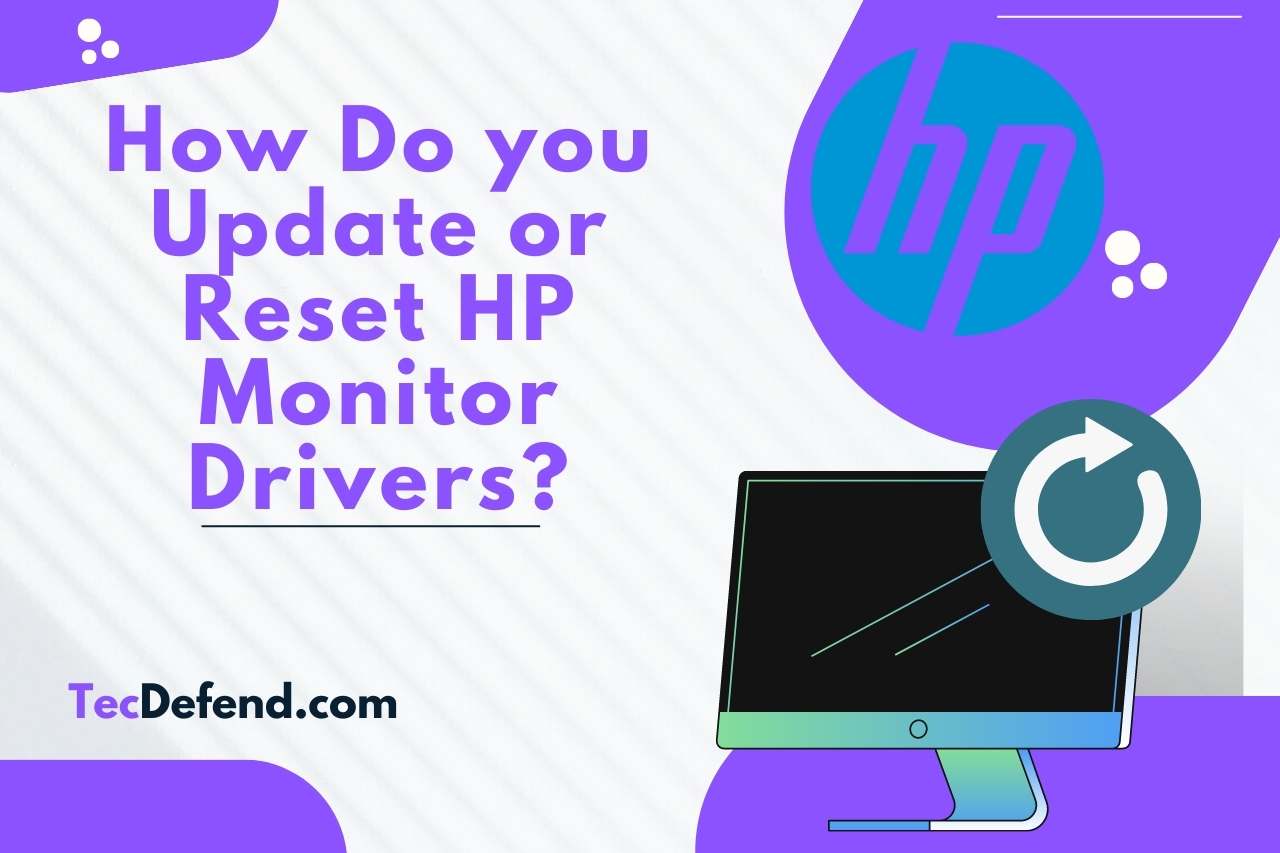
How Do you Update or Reset HP Monitor Drivers?
Update Drivers
- Find the model number of your HP monitor, typically located on the back of the monitor or in the user guide.
- Visit the “Drivers and Downloads” section of the official HP support website.
- Type in the model number of your display and choose the suitable operating system.
- Find and download the newest monitor driver. To install, adhere to any instructions that appear on the screen.
- Restart your computer after installation to make the driver upgrades effective.
Resetting drivers requires right-clicking the “Start” button and selecting “Device Manager.”
- Locate and expand the “Monitors” area in the Device Manager.
- Right-click the listing for your HP display and choose “Uninstall device.” If it’s your choice, select “Delete the driver software for this device.”
- Your PC and the monitor’s power source should be disconnected.
- Turn on the monitor after reconnecting it. Windows will reinstall the driver. If it doesn’t work, try using the “Updating Drivers” instructions again.
How Do I Know If My Monitors are Damaged?
- Look for visual and functional indicators to evaluate whether your monitors need repair.
- Check the monitor physically for any alterations to the screen, such as cracks, scratches, or dents.
- Anomalies like flickering, dead pixels, discoloration, or uneven backlighting should be looked for when the monitor is turned on.
- Keep an ear out for odd noises like clicking or buzzing. To rule out connectivity concerns, test several input ports and cables.
- Damage may occur if your monitor’s performance is continuously poor despite modifications and problems appearing on several devices.
How Do I Know My Video Cable is Damaged?
Look for noticeable wear or physical damage along the length of your video cable to see if it has been harmed. Check for wires that are exposed, frayed, bent, or kinked.
While the devices are turned on, gently wiggle the cable at both ends; if the screen flickers or displays intermittent disturbances, the cable may be defective.
To see if the problem remains, replace the cable with one known to be functional. Despite adequate connections, if your monitor shows abnormalities or a “No Signal” message, the cable may be broken and has to be replaced.
Watch this one,
Video Credits – Dishu Tech4u
![How to Delete a Flipagram Account? [Step By Step]](https://tecdefend.com/wp-content/uploads/2023/03/how-much-does-it-cost-to-true-a-bike-wheel-43-768x512.jpg)


![Crunchyroll Not Sending Password Reset Email [FIXED]](https://tecdefend.com/wp-content/uploads/2023/10/are-rabbits-herbivores-or-omnivores-20-768x512.jpg)